How to Convert an Estimate to an Invoice: A Step-by-Step Guide

You’re an innovative and independent thinker. How do we know? Because you’re running your own successful venture—and that’s no mean feat.
You wear many hats. You’re a customer service rep and an admin wizard. You’re a marketing guru and the head of the billing department.
It’s to be expected that you may need to learn a few new skills along the way. And if one of them is how to convert an estimate to an invoice, you’re in the right place!
In this guide, we’ll help you level up your invoicing knowledge. First, we’ll compare the differences between estimates and invoices. Then, we’ll look at the value of converting estimates into invoices accurately.
We’ll give you easy-to-follow instructions that lay out exactly how to make the conversion. We’ll even offer some insight into using software and automation.
We’ll finish up our guide with a couple of quick tips you can put into action today.
Getting paid is about to get easier.
Estimates and Invoices: Key Differences Explained
Before we dive into the specifics, let’s get some definitions straight.
An estimate is a rough calculation of how much the project or service will cost. The goal? To help clients decide whether or not to hire you.
An estimate generally includes:
- The scope of the work, AKA a description of the services or deliverables you will provide
- A breakdown of the total expected costs
- Any specific terms that might apply to the project
- If relevant, an estimated time frame for delivery
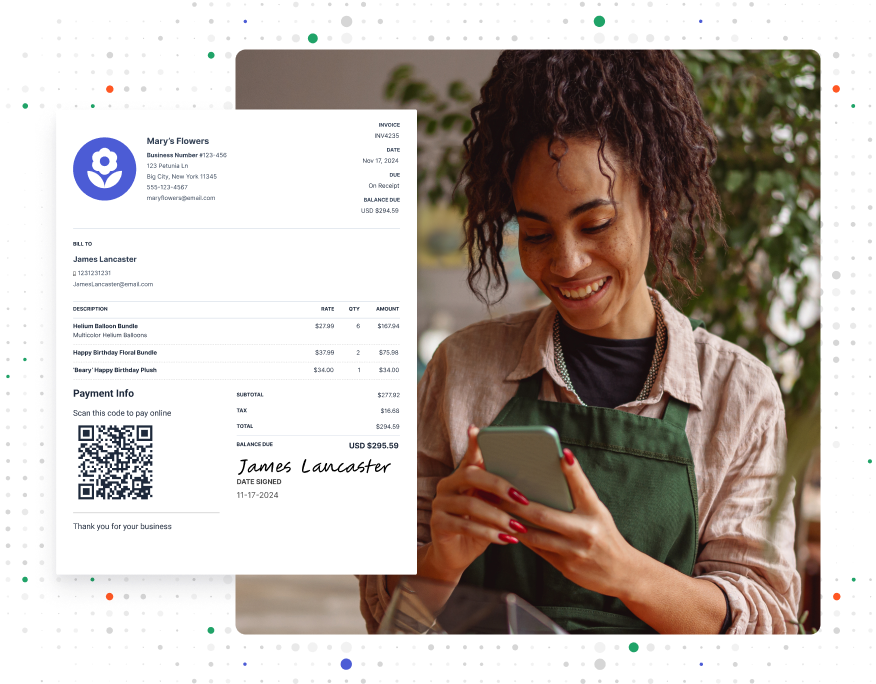
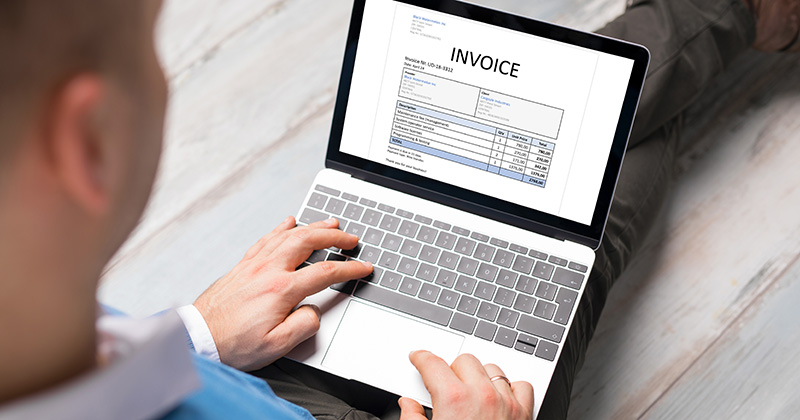
An invoice, on the other hand, is like a bill. It’s how you request payment from your client.
According to Investopedia: “Besides notifying a customer that payment is due, [an invoice] also serves as a paper trail for accounting purposes.”
Key features include:
- A unique invoice number
- A description of the services that you provided
- The total amount due
- Payment terms, like when and how to make a payment
- The due date for the payment
FROM ONE OF OUR PARTNERS: The 9 Essential Elements of a Small Business Invoice
Now, let’s compare the two:
| Estimate | Invoice | |
| Purpose | Provides an approximate cost for services or work | Requests payment for completed services or products |
| Timing | Sent before work starts | Sent after work is completed |
| Flexibility | Can change based on project scope or costs | Should reflect the final agreed-upon cost |
| Legal Obligation | Not legally binding | Legally binding |
| Components | Includes scope, costs, timeline, and terms | Includes invoice number, services, total due, and payment terms |
The Value in Converting Your Estimates to Invoices

When you convert an estimate into an invoice, you are transforming your estimated cost outline into a formalized payment request. It’s a must-do step in your billing process.
It makes sure the final bill matches the agreed-upon cost. This locks in accuracy and helps prevent payment disputes.
What are the benefits? Here are three.
1. Streamlines the Billing Process
Starting your invoice from scratch, rather than working off the existing estimate, takes longer. It’s also riskier—if you’re trying to remember what you and your client agreed on, you might make a mistake.
By converting the estimate into an invoice, you save time. You deliver a bill that’s consistent with what the customer was expecting. And this improves their experience.
Expect great reviews and repeat business.
2. Supports Steady Cash Flow
Customers can’t pay you for work before they get your invoice.
But there are plenty of reasons why you might put invoicing off. You might not have the time. Or, you might find the process tedious and annoying.
Whatever your reason, using your estimates as the basis for your invoice makes the whole process simpler. You can invoice quicker, which means you’re more likely to get paid on time.
This results in steady cash flow.
3. Builds Strong Client Relationships
As a freelancer or small business owner, you know just how important customer relationships are.
Positive relationships encourage repeat purchases. They also bring in new customers, thanks to the power of word-of-mouth marketing.
When your invoice matches the estimate, you meet your customer’s expectations. They aren’t surprised or caught off-guard, which can fracture trust.
Step-by-Step Guide: How to Convert an Estimate to an Invoice
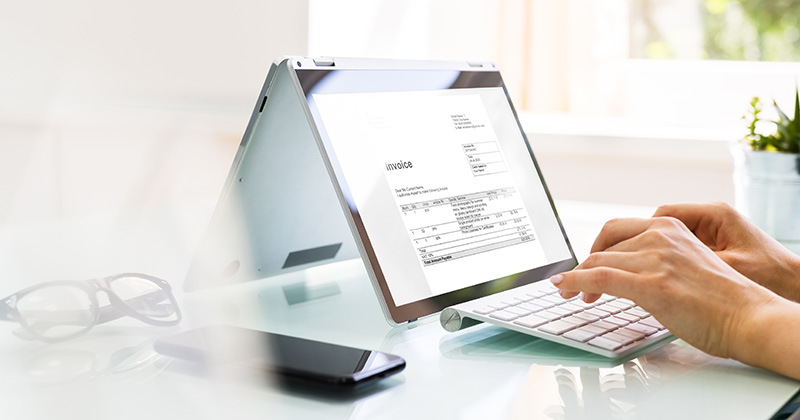
Turn your estimates into accurate and professional invoices. Get paid faster and keep your customers happy along the way. Here’s how.
Step 1: Review the Approved Estimate
First things first: take a look at the original approved estimate.
Is it still accurate? Are all the details correct? Did the client agree to the services you suggested and their costs?
It’s also worth reviewing the customer’s details. In some cases, you might’ve sent the estimate to one person but will be billing another. Keep these types of discrepancies in mind before moving forward.
Complete this step to:
- Prevent misunderstanding
- Ensure accuracy
- Avoid issues further down the line
Step 2: Transfer to an Invoice Format
Your estimate is accurate. Now, it’s time to start the conversion.
Transfer the details to an invoice. Include all the important elements, like the services provided and their fees. Add in the total amount due.
Sometimes, you might send a single invoice that covers more than one estimate. In these cases, make sure the total owing is the sum of all estimates.
Make it easier: Consider using an invoice template or invoicing software. That way, you don’t have to start with a blank document every time.
Complete this step to:
- Keep the billing process consistent
- Ensure the invoice reflects what you and your client agreed on
RELATED ARTICLE: 8 QuickBooks Alternatives: Free and Paid
Step 3: Verify Details and Make Adjustments
Typos and miscalculations can, best-case scenario, cause delays. Worst case? Lead to arguments or disputes with your customers.
So, take your time to check all the details. Recalculate the final amount due, especially if you’re doing this manually.
Have you included any extra work you did that wasn’t included in the original estimate? What about any discounts that might apply?
If you run into any errors or oversights, make the required changes.
Complete this step to:
- Be 100% confident your invoices are accurate
- Make sure you are paid for all services delivered
- Maintain strong and positive relationships with your clients
Step 4: Add Logistical Information
Estimates and invoices have different elements. Make sure you add in those elements unique to invoices.
This includes things like an invoice number, payment terms, the due date, and late fees.
Complete this step to:
- Encourage fast payment
- Give clients the information they need to pay
- Be transparent about your payment policies to avoid confusion
Step 5: Generate the Invoice
Everything’s in place and where it should be. Take one last minute to review the invoice for any errors or missing information.
Then, save the invoice. Generally, invoices are sent as PDFs.
- If you’re using Microsoft Word, you can convert the document into PDF.
- If you’re using invoicing software, it will likely export the invoice as a PDF automatically. Alternatively, it might provide you with a link. You send this to your client via text or email. They click it and pay online.
Make it easier: Use invoicing software. As we mentioned, it makes generating and sending your invoice easier. It also means payment is more convenient for your clients.
Complete this step to:
- Create the final invoice that will go to your client
- Ensure everything looks professional
- Make sure your invoices are sent on time
Step 6: Send the Invoice to the Client
Now, send the invoice to your client.
You’ll most likely email it to them—just double-check that the contact information is correct. Add in a polite message. Something like:
“Dear [NAME],
Thank you for your business. I’ve attached your final invoice to this email, which includes my payment terms and methods.
Please reach out with any questions.
Best,
[YOUR NAME]”
If you have an invoice link, you can add it to the email. You could also text it to your client if that’s their preferred communication channel.
Complete this step to:
- Deliver the invoice to the right person
- Cater to your customer’s preferences
- Nurture customer relationships
Step 7: Follow Up If Needed
If you haven’t received payment by the due date, follow up. Be friendly and brief. Your client may have just forgotten.
Be sure to include the original invoice in your message.
Make it easier: Set up automatic reminders if your invoicing software allows it. That way, the payment process stays on track without too much extra work.
Complete this step to:
- Make sure you get paid for all services
- Maintain your cash flow
RELATED ARTICLE: How to Offer Net 30 Terms (for Small Businesses & Contractors)
Using Software to Automate the Process

Small business owners like you lose an average of 96 minutes of productive time each day. After one year, this equates to three whole weeks.
The good news? Technology can help you reclaim this time.
Invoicing software can help simplify your financial tasks. It takes care of invoicing for you, so you can spend more time doing what you do best.
Here’s how software helps:
- Data transfer is automatic. You can turn an estimate into an invoice in a matter of clicks.
- Your invoices automatically reflect any changes to the services provided that take shape along the way. You can quickly add new line items or adjust costs.
- Your clients can pay you securely through the software. It’s all integrated—your invoicing software and payment processing. This makes payments faster and more conveni
How does this new and improved automatic invoicing process benefit your business? You can expect:
- Fewer errors and more consistency
- Faster payments for improved financial health
- Easier and more accurate payment tracking
- A more professional appearance that inspires trust
FROM ONE OF OUR PARTNERS: The One Tool Accountants Absolutely Shouldn’t Go Without
4 Tips for Converting Estimates to Invoices Seamlessly
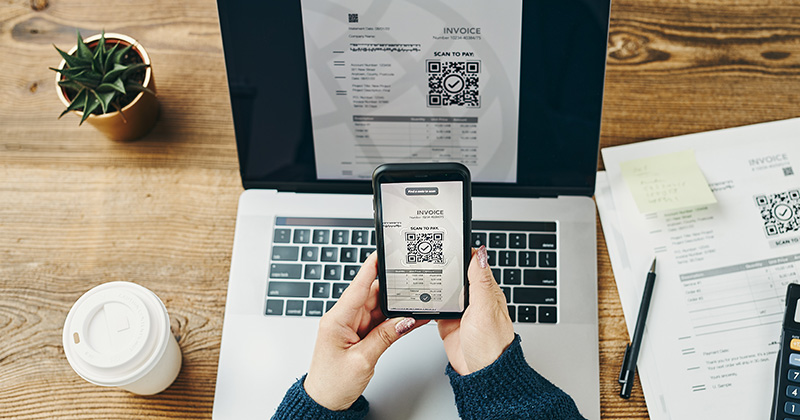
Here are four tips to help you convert estimates to invoices without the hassle:
- Review your estimate format. Check to see if your estimates include all the necessary details. This makes transferring information to an invoice faster and more accurate.
- Use an invoice template. Look at your current invoicing system. If it’s manual, consider using templates. They can save you a ton of time.
- Identify bottlenecks in your process. When billing, where do you get stuck? Use this insight to improve your workflow.
- Research automation software. Look into invoicing software that automates the estimate-to-invoice process.
Start Your First
Invoice Today
Create customized and professional
invoices and connect with clients
